Details
12
15 min
1 hr
Since I shared how to make the Japanese version of butter mochi, it only makes sense I share how to make the Hawaiian kind.
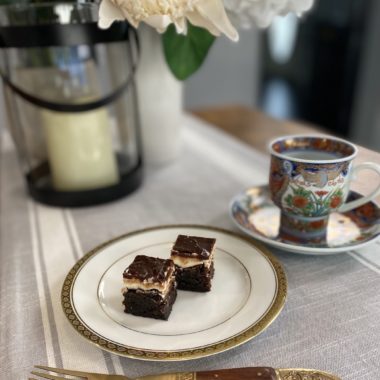
Hawaiian butter mochi isn’t as sticky as the Japanese wagashi kind, but it’s got the same chew. It also tastes like yellow butter cake. It’s chewier than a chewy blondie / brownie, and with a butterscotch-y, caramel-y flavor that’s addictive.
There are two stories I’ve come across in terms of how Japanese butter mochi may have become adapted for Hawaiian palates. One is older – there’s a theory that Portuguese merchants may have taken butter mochi from Japan to Hawaii. The other theory is that Japanese immigrants to Hawaii brought it with them. Both are delicious in their own unique way – I love them both!
Once you know the basic recipe, you can make your own spinoff version. Mix in some shredded coconut, or top with shaved coconut, mix in some matcha powder, fold in some chocolate chips, or use drained / blotted-dry pineapple slices for a pineapple-upside-down style butter mochi.
Edges will have a blondie / brownie-like texture, with the center a soft, chewy mochi one. People who know, know the edges and corners are the best parts – you get both textures in one square.
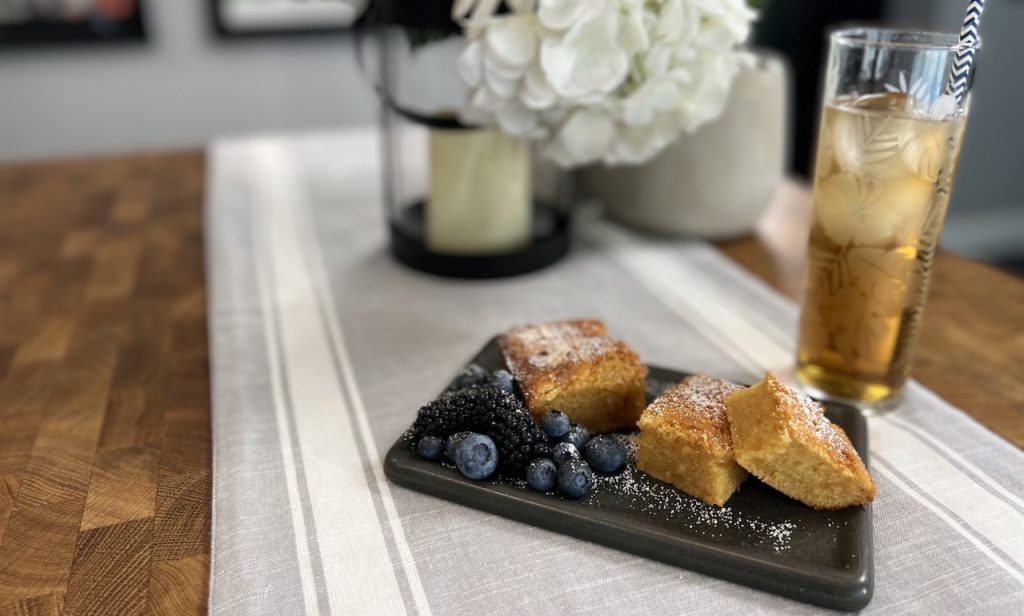
This would be a hit at any potluck, bake sale, or picnic. It’s gluten-free! Because it’s baked, it travels better than the Japanese version. Enjoy with some fresh fruit to balance out the buttery richness of this absolutely delicious dessert.
Visit here for my Japanese Butter Mochi to compare! For other modern Japanese sweets, check out my Matcha Nama Chocolate, Melon Pan Toast, and Tofu Bavarois. And for traditional Japanese desserts, try my Karumeyaki, Kohakuto, Mizu Manju and Warabi Mochi, and Shiratama Dango. They’re all delicious!
Notes
Note 1: mochiko flour is not the same as rice flour. Please make sure you’re using the right kind.
Note 2: because mochiko flour is gluten-free, you can be aggressive when mixing. It won’t get tough like it would with wheat flour.
Ingredients
- 1/2 stick butter (either salted or unsalted)
- 1 cup sugar
- 2 eggs
- 1/2 tsp vanilla extract
- 8oz mochiko sweet rice flour
- 1 tsp baking powder
- 6oz evaporated milk (1/2 large can)
- 7oz coconut cream (1/2 large can)
Directions
In a bowl, mix melted butter and sugar.
Add eggs one by one, then the vanilla.
In a separate bowl, add baking powder to mochiko flour.
Add dry ingredients to the butter / sugar / egg mixture and mix well.
Add evaporated milk and coconut cream and mix well.
Fold in any additional flavorings or mix-ins if desired.
Pour into buttered baking dish(es) and bake at 350F for 1 hour.
Allow to cool completely before cutting into squares. Edges will have a blondie / brownie-like texture, with the center a soft, chewy mochi one. People who know, know the edges and corners are the best parts – you get both textures in one square. Enjoy!